Basic Photography Course
Lesson 2 — Lighting & Exposure
|
Light is the very substance of photography. Light reflected from the subject is formed by the camera lens into an image and the light of the image is recorded digitally on the camera's sensor.
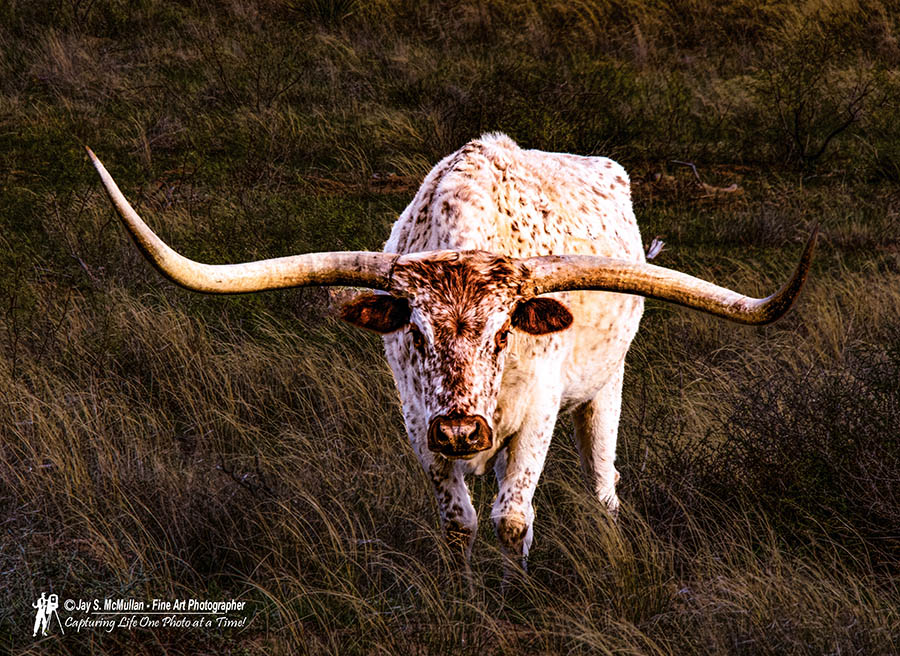
It is through the contrasts in lighting that we perceive the forms of things so readily; the play of light across an uneven surface, such as a human face or a landscape. This contrast determines our ability to see the shapes and textures of what lies before us. Contrast also affects exposure and processing. Thus, controlling contrast is of great importance in photography. When we look at an object or a scene, the direction of light falling on it has a strong effect on our impression of contrast and thereby on our impressions of form and texture. Direct frontal light—light falling on the subject or scene from the approximate direction of the viewer's line of sight—grossly lowers the apparent contrast because shadows are being thrown only in places the viewer cannot see. It is as if there were no shadows, no matter how harsh the overall lighting contrast would be if the subject were seen from other angles. Lighting from a broader angle—from more to one side of the viewer—increases the apparent contrast; the harshness of contrast increases as the angle broadens. Light coming from an angle at 90 degrees to the viewer's position may have a chalk-and-charcoal effect; one side is brilliantly lit, and the other is a black shadow. Backlighting, light directed toward the viewer from somewhere behind the subject, is characteristically extremely contrasty; the light is deflected toward the viewer, or camera, either by reflection from the edges of the subject, or by refraction from peripheral matter such as hair or other translucent materials. If significant frontal lighting is desired on a backlit subject, some of the main lighting must be reflected back toward the subject, or a secondary light source must be used to partially or completely fill in the shadowed areas. This can be done with the flash on your camera or with a portable flash unit.
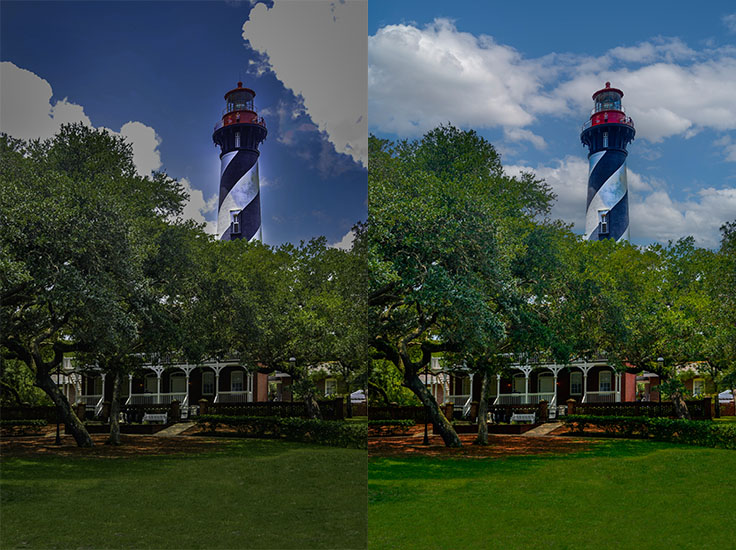
Camera manufacturers have a huge task in determining what is “normal” lighting for their camera. If you go to a camera store, chances are you will run across something called a “gray card.” When the scientists set your camera's light meter, they use precise instruments to set the “normal” reflected light level to 18% (between black and white). A gray card reflects 18% of the light that hits it. To get a “normal” exposure of a person, for example, you can have the person hold the gray card near their face, fill the viewfinder with the card to meter, lock your exposure, and then photograph your subject. The light settings in your camera, when using PROGRAM MODE, will make great photographs 90% of the time, but other times you will need to make some changes. How does the camera's light meter know how to adjust to the proper settings? Most of the time, the camera averages light reflecting off everything in the scene. There will be times when the camera's light meter will not get it right. In the mid-20th century, Ansel Adams developed the “Zone System” for exposure. With film (especially black-and-white sheet film), it helped photographers set exposure for a scene. Many aspects carry over to digital imaging. Adams divided light into ten “zones” using Roman numerals: Zone I is black with no detail; Zone X is white with no detail; Zone V corresponds to the 18% gray card. The useful dynamic range is roughly Zone III (detail barely visible in shadows) to Zone VIII (detail just begins to be lost in highlights). Try to avoid very large areas with no detail (deep shadows in Zones I–II or “blown out” highlights in Zones IX–X). In this lesson's assignment, we will begin to see how various types of light affect the subject or scene we are photographing.
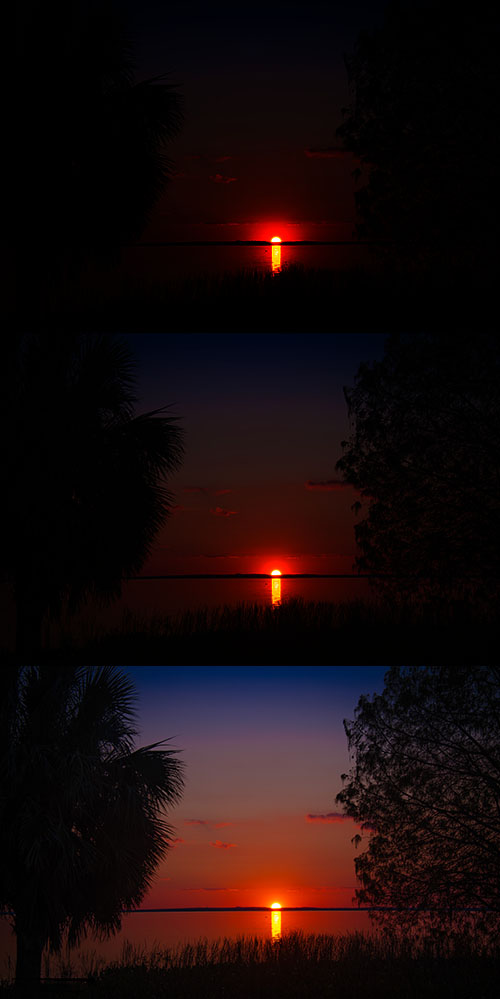
Notes: When shooting outdoor portraits, place your subject in open shade. Beware of distracting shadows across your subject. When shooting sunrises or sunsets, the camera will tend to meter for the sun. Use exposure compensation, or adjust ISO, to get a good overall photograph. Try bracketing in thirds of a stop to see the differences. - Take a photo directly into the sunset with no changes on your camera. - Then try +1/3 EV, +2/3 EV, and +1 EV (or equivalent ISO changes). Also try −1/3 EV, −2/3 EV, and −1 EV. Compare results. - If your camera lacks exposure compensation, you can simulate it by changing ISO steps (e.g., 100 → 200 → 400 → 800). |