If you have been following my updates, you know that I built a solid guitar mold from MDF, medium density fiberboard. After I got it built I wasn't happy with it. I built it so it will separate in the middle into two sides. The MDF is heavy and it is so soft that it dents easily. After seeing another luthier's molds which were one piece and made of plywood, I decided to build another mold and scrap the first one. I had originally cut a piece of Lexan for a pattern for the body of the guitar. I drew the plans for the guitar in AutoCad and then had them printed locally. I placed the drawing over the Lexan and traced the body shape onto the Lexan. Then I cut to between 1/16" and 1/8" from the line for the body then I sanded the pattern to the exact shape. I ended up cutting the original pattern in half because I wanted to use a router inlay kit to trace the pattern onto a piece of MDF. Well, when I did, twice it broke the router bit. When I decided to build this second mold, I emailed the AutoCad drawing of the guitar to a local plastics company and had them cut me another pattern from acrylic sheet with a CNC (computer numerically controlled) mill. It was only about $40 and the cut is absolutely perfect.
|
|
The new guitar mold uses two sheets of plywood. After cutting the first sheet exactly like I want, I cut to within about a half inch of the line on the second sheet of plywood. Then I used a flush trim router bit. I used a wood screw in each corner to hold the sheets together. |
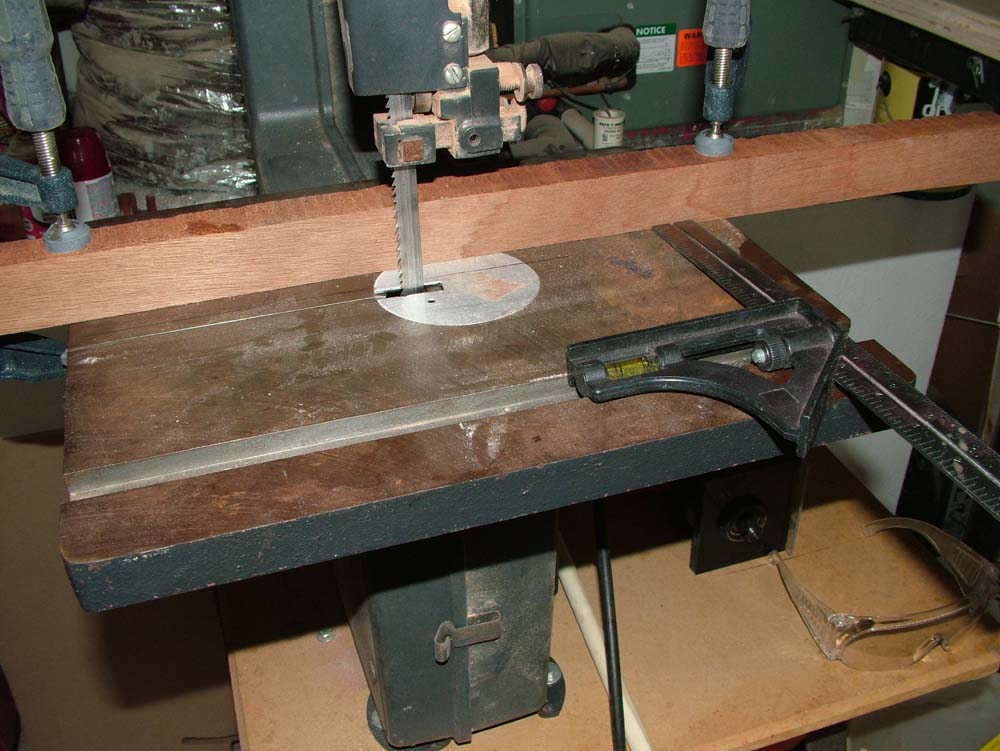
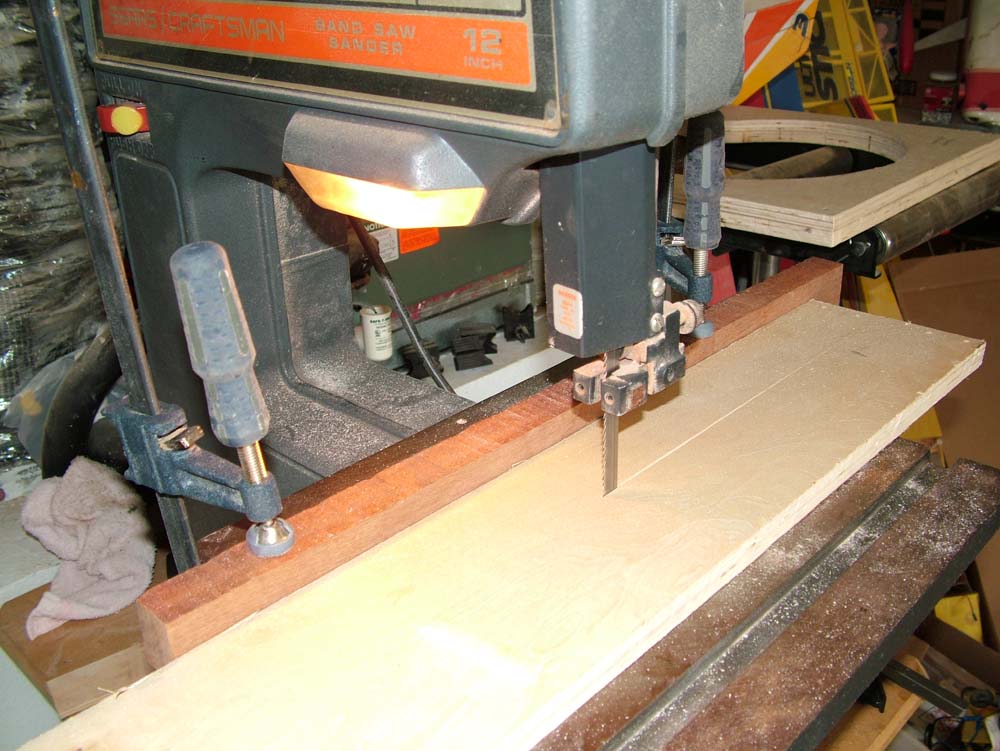
After finishing both sides of the mold, I want to make some blocks that will allow the guitar body to be raised up in the mold. I set up a scrap piece of sapele as a fence on my bandsaw. To set it up, I measure from the edge of the blade to the fence. Then, by placing the square edge of my combination square in the miter slot, I make sure the fence is evenly spaced. |
|
|
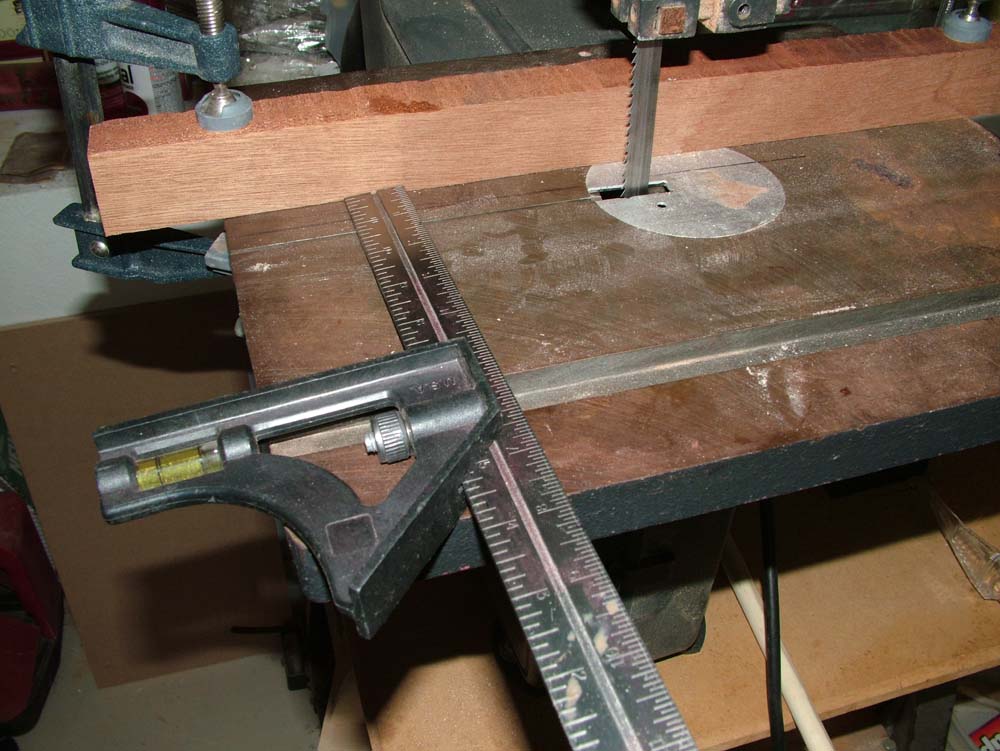
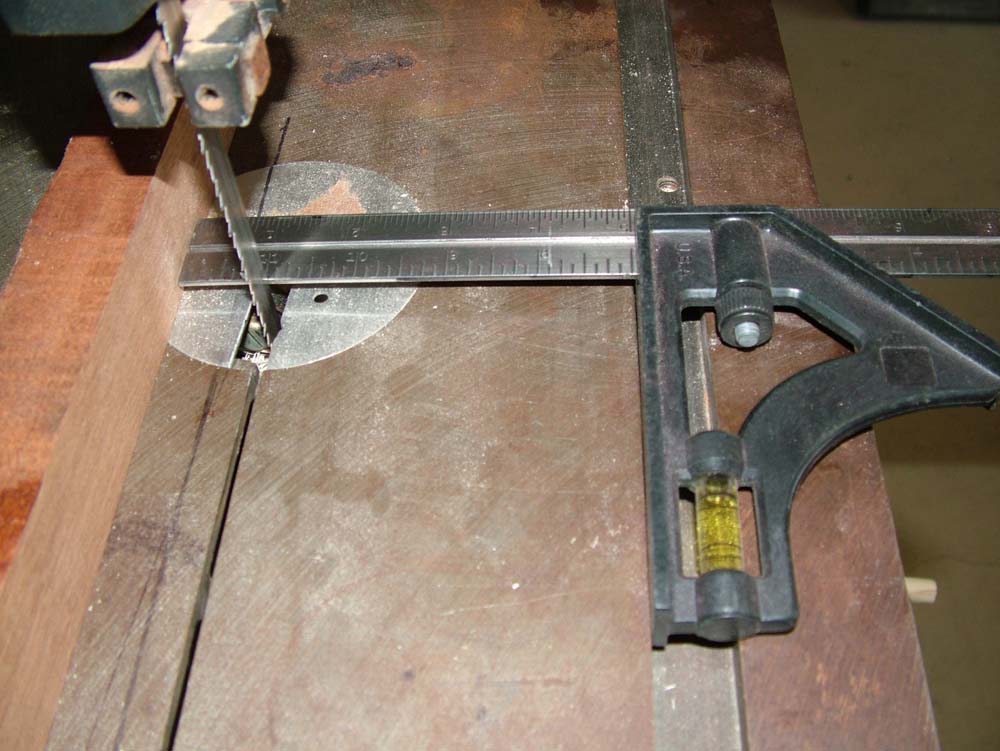
Here, I move the combination square to the left side of the bandsaw table and make sure that my fence is the same distance from the miter slot that is is on the right side. The blocks are cut from 1"x1" wood and are cut to 1" cubed. |
Another view showing how I use the combination square in the miter slot to set up the fence before I cut the 1" blocks. |
|
|
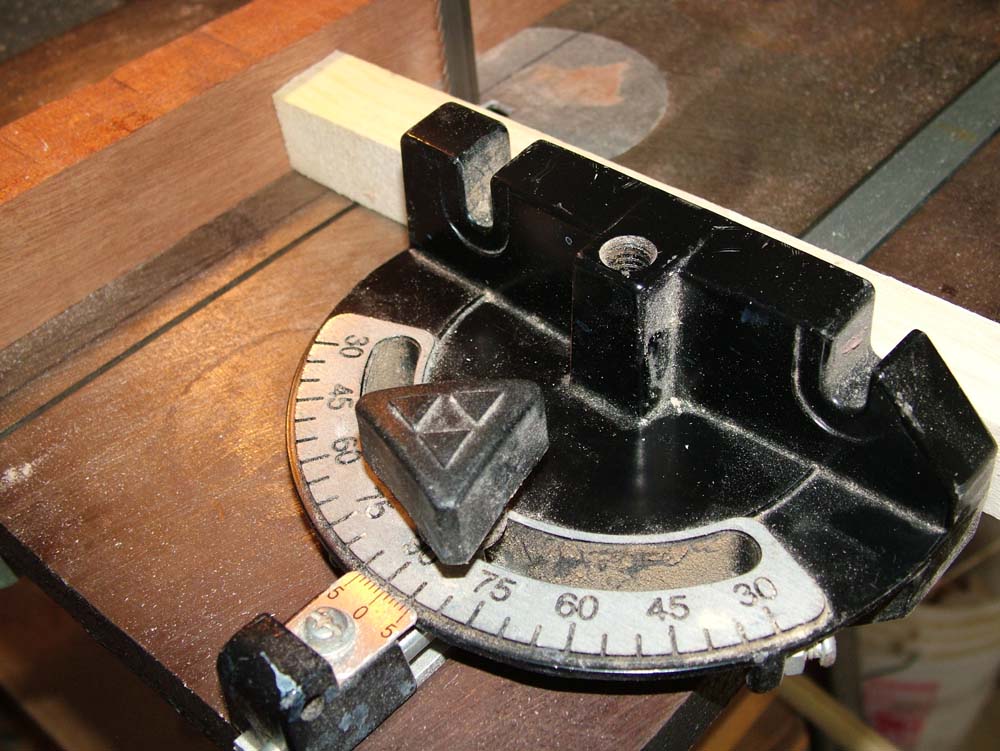
I use a miter gauge to cut the 36" 1" square stock into blocks. Once the fence is set up properly the bocks can be cut accurately and quickly. |
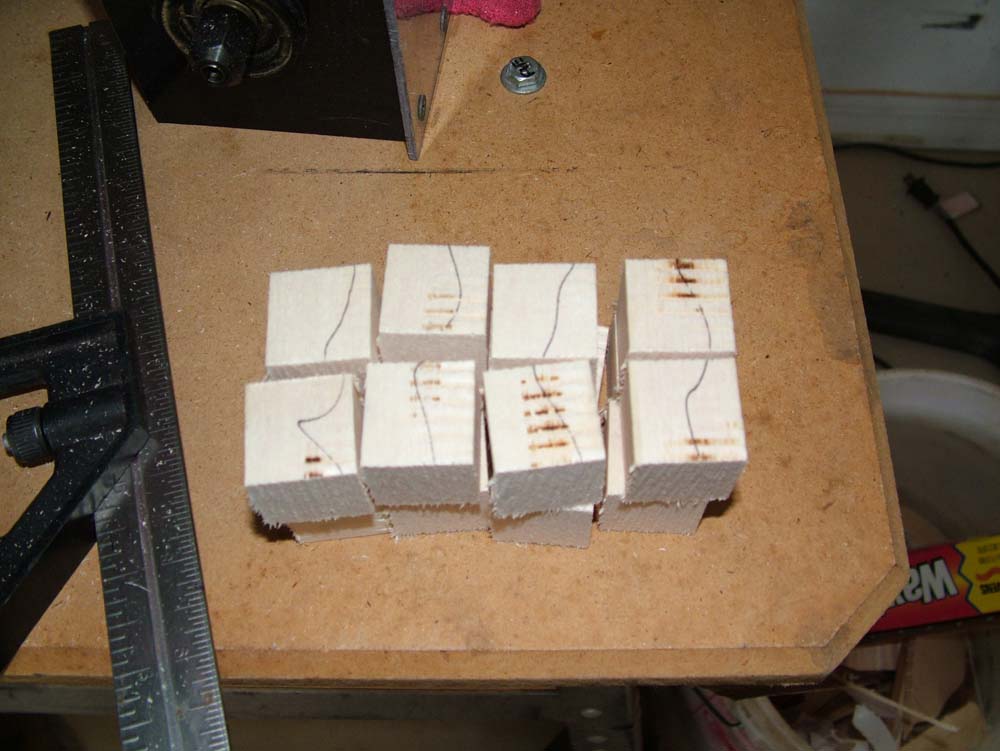
I placed a line down one side of the wood before I cut it. I will drill a hole in each one on the same side for a 1" long piece of 1/2" wood dowel. |
|
|
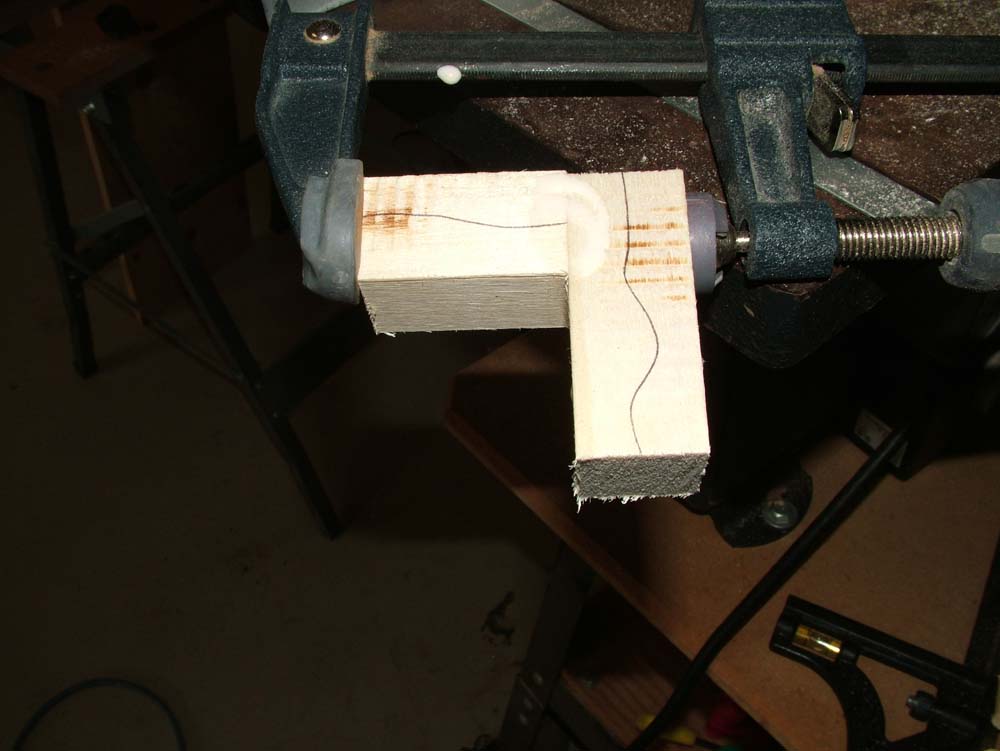
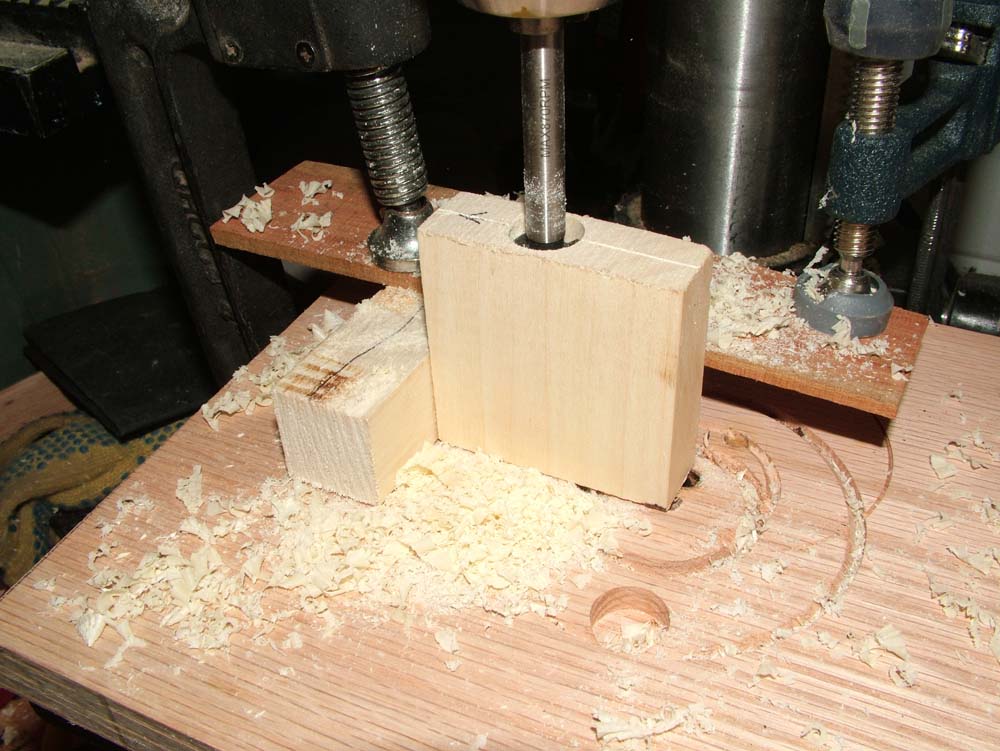
To make sure the hole in each block is exactly the same, I made a jig using the same material I used for the blocks. Here it is glued and clamped. I will clamp this into my drill press and each block will be slipped quickly into position to have the hole for the dowel drilled. |
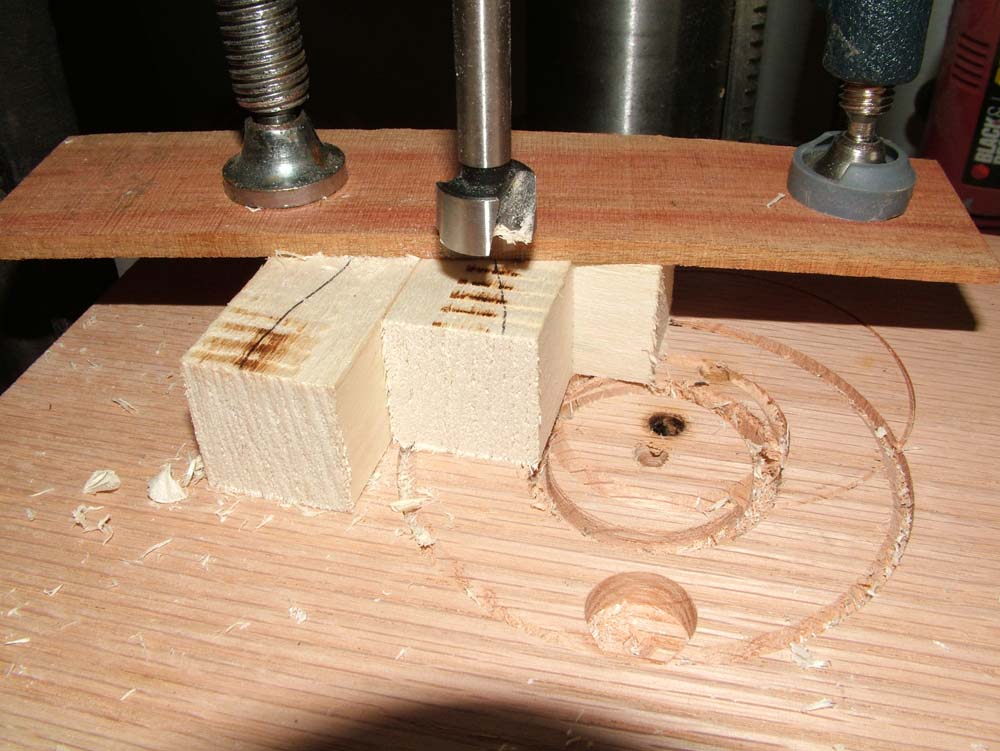
Here is one of the bocks in the jig, on the drill press and ready to be drilled. |
|
|
Spacers are used between the top and bottom plywood sheets. They need to 2.25" wide. I set the fence up like I did for the blocks and rip the wood into 2.25" wide strip. |
I decide where I want to put a spacer and then cut it to the exact length. Then I use the same jig for the blocks to drill the hole for the blocks. This way the blocks will be in perfect position in the mold and the guitar won't rock because of misplaced blocks. After drilling the holes in the spacers, I glue and clamp them to the top of the mold. |
|
|
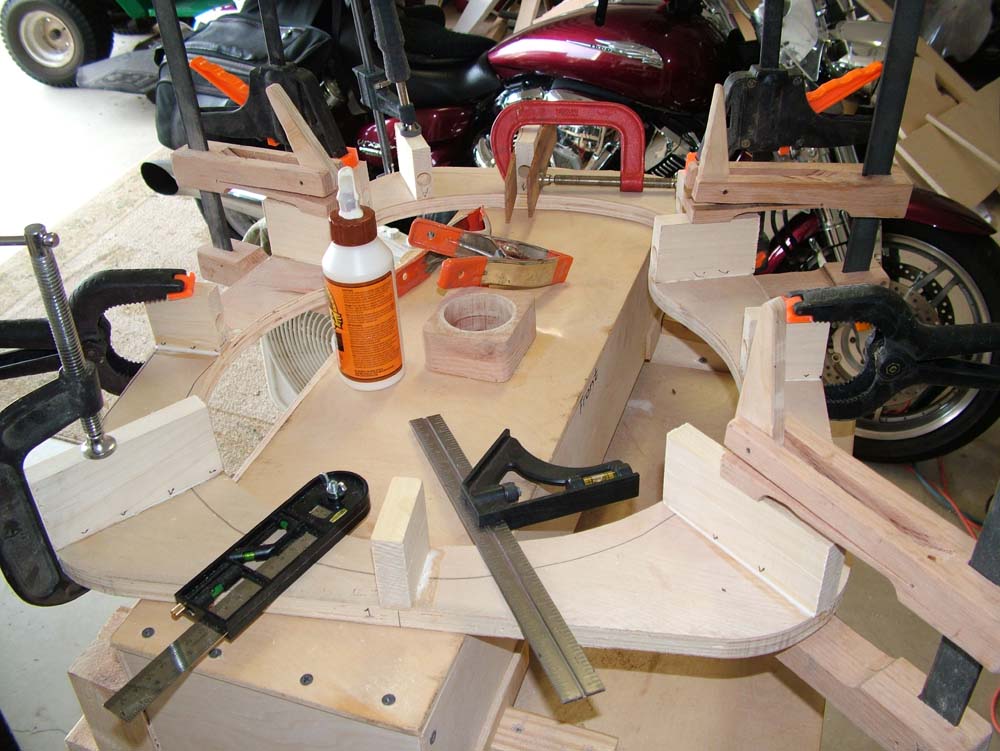
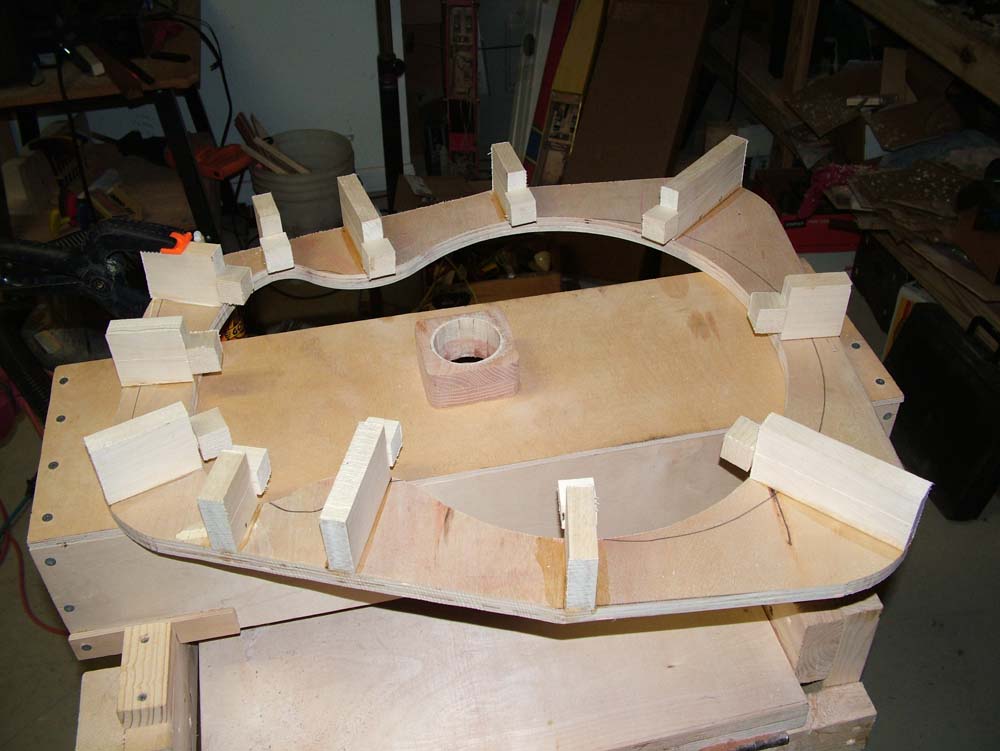
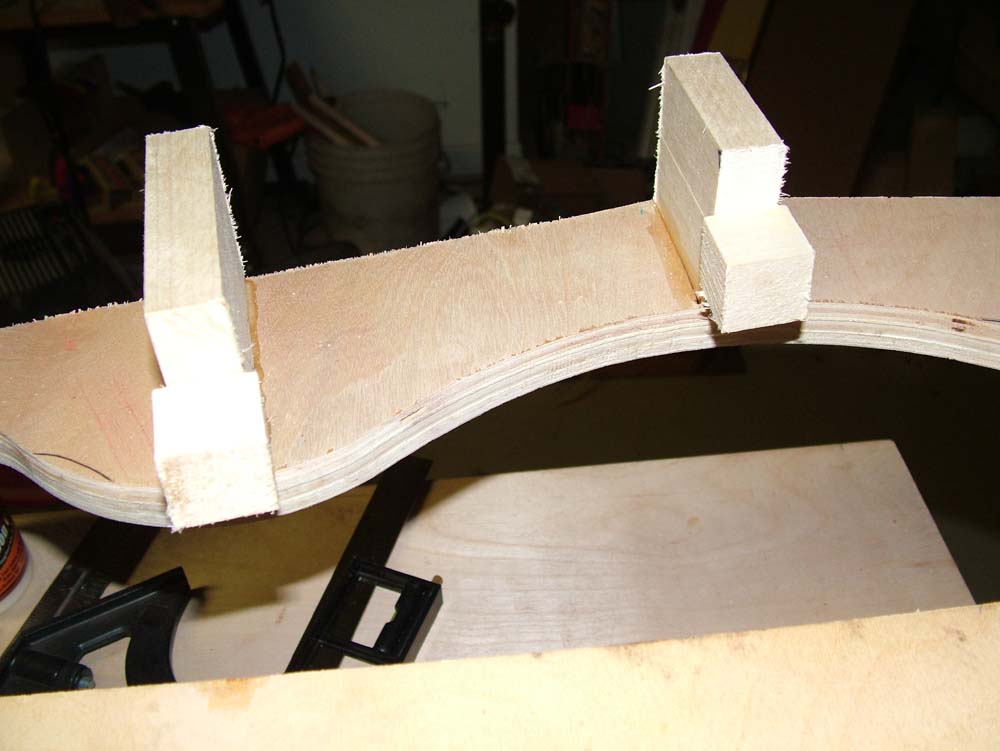
I used a wood screw and glue on the spacers on the top and the bottom of the guitar and one of the spacers split. I used the red clamp in the top of the photo to glue the spacer where it cracked. I was able to get all of the spacers in place except for one where the clamp is. Once the glue is set on the cracked spacer, I will add the last spacer. |
Another view of the mold top with all but one of the spacers glued and clamped in place. You really can never have too many clamps! I've got a few more cam clamps that I need to finish. This took every clamp I had. |
|
|
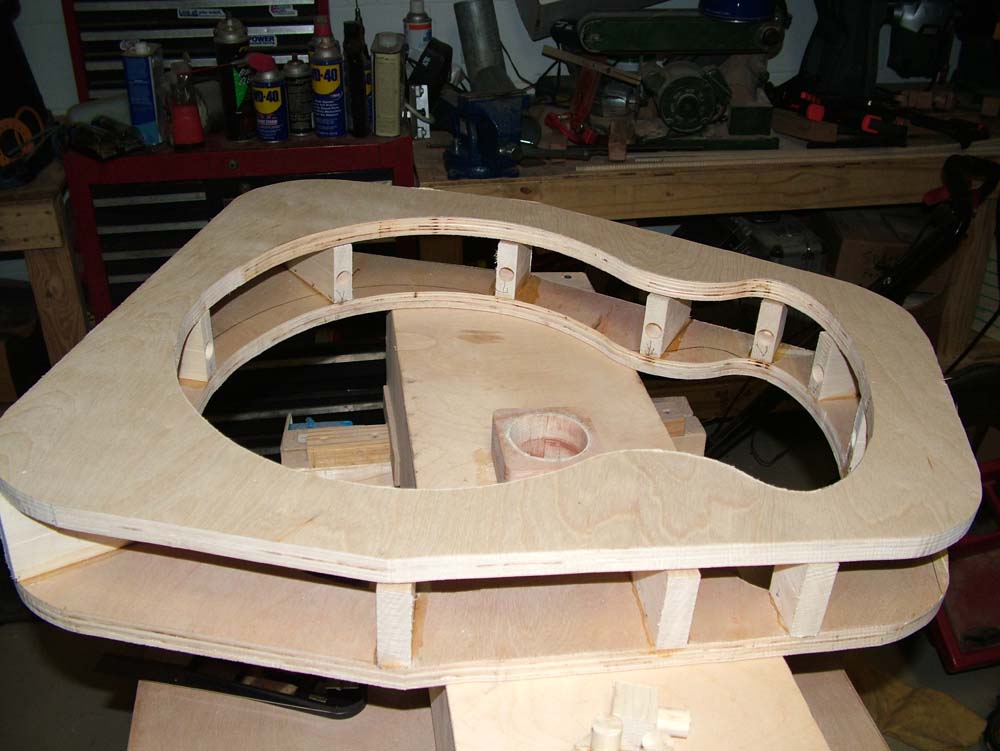
These are the blocks with the 1" dowels inserted. |
This is what the finished mold looks like. I still have to add one spacer and then glue the bottom piece of plywood to the spacers. It probably weighs one third of what the MDF mold weighs. |
|
|
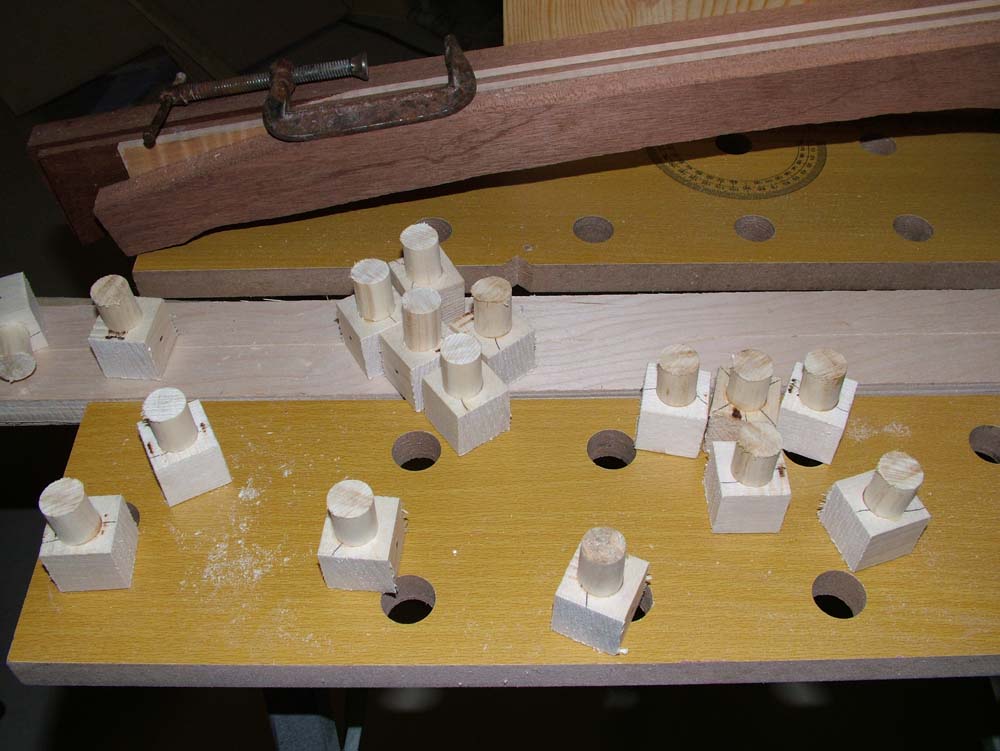
This is the top of the mold, turned upside down. When you zoom in on the photo, you can see the holes that have been drilled in the spacers. |
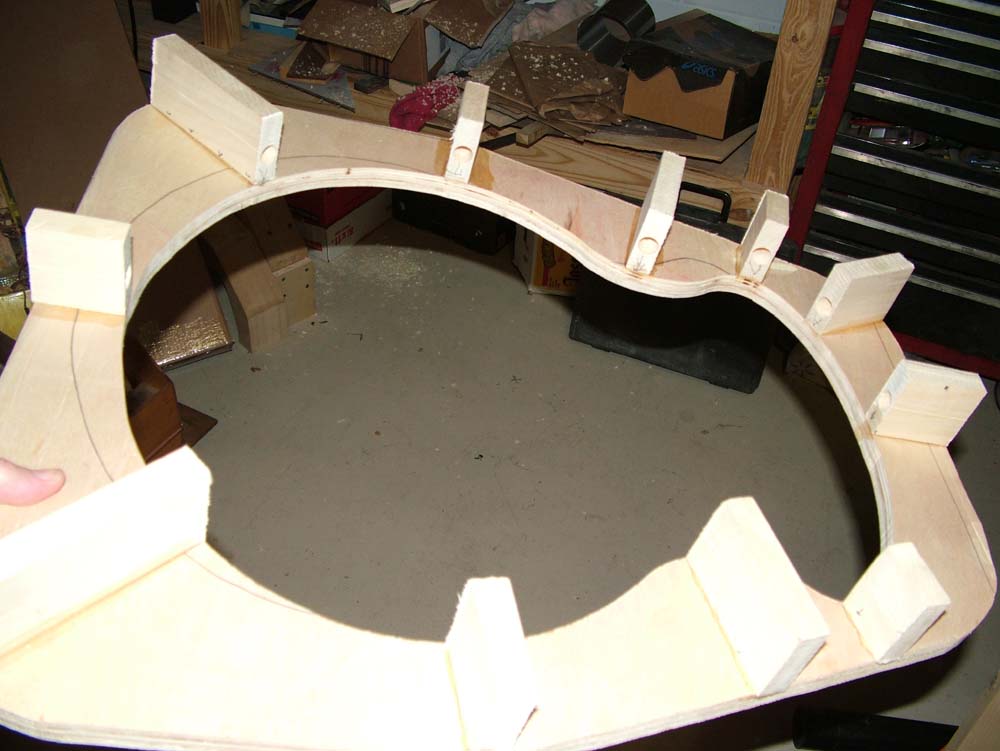
Here, all the blocks are inserted into the spacers. This will allow the guitar to be held in place sitting only half way into the mold instead of being seated all the way in like it will be without the blocks. |
|
|
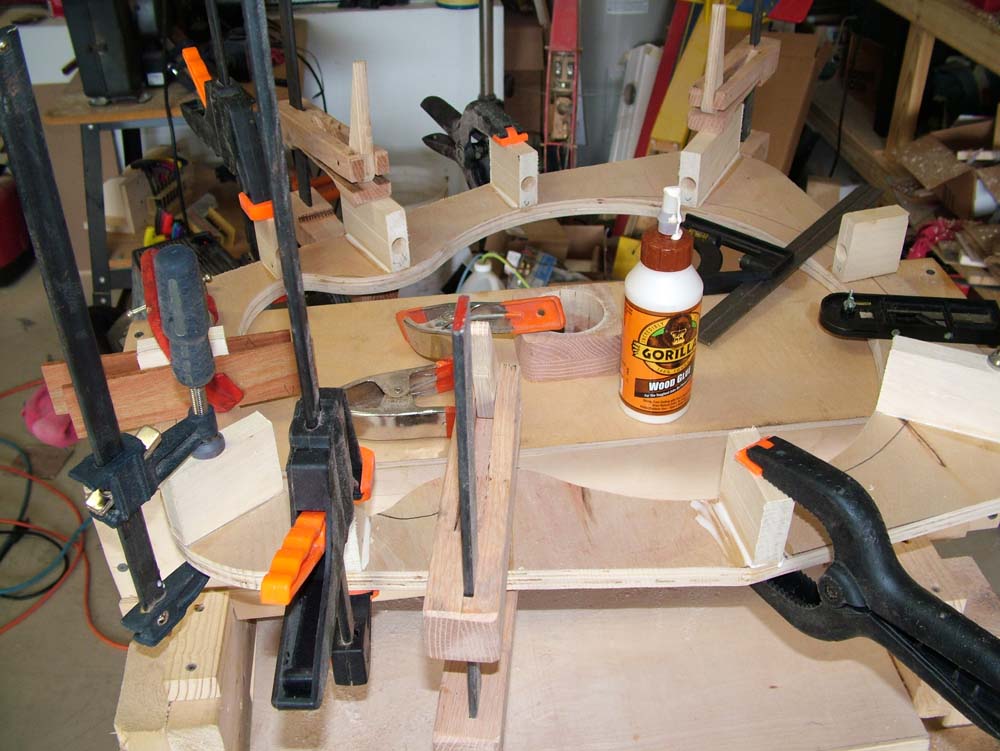
Another view of the mold top with all but one of the spacers glued and clamped in place. You really can never have too many clamps! I've got a few more cam clamps that I need to finish. This took every clamp I had. |
|
I still needed to figure out a way to trace the pattern onto the plywood for the mold and then cut the plywood. I wanted to the plywood to be cut as perfectly as the pattern and couldn't figure out a way to do it like I wanted. I wanted to use a flush trim router bit but there is not really a good way to do it that way. I ended up getting some new jig saw blades and used the jig saw to cut out the plywood. I was really pretty happy with the results. The blades cut very well and very quickly. I drilled a half inch hole in the middle of the plywood and then, instead of cutting proud of the line, I cut right on the line and it turned out well. To cut the opposite piece of plywood for the mold, I drilled another hole in the second piece of plywood and used the jig saw to cut within about a half inch of the line. Then I used one wood screw in each corner of the plywood to hold the two pieces together. Then I used my flush trim router bit and cut the second piece of plywood exactly like the first. I really enjoy using the flush trim router bit, it, along with the bandsaw are two of my favorite tools.