Circle Cutter
 |
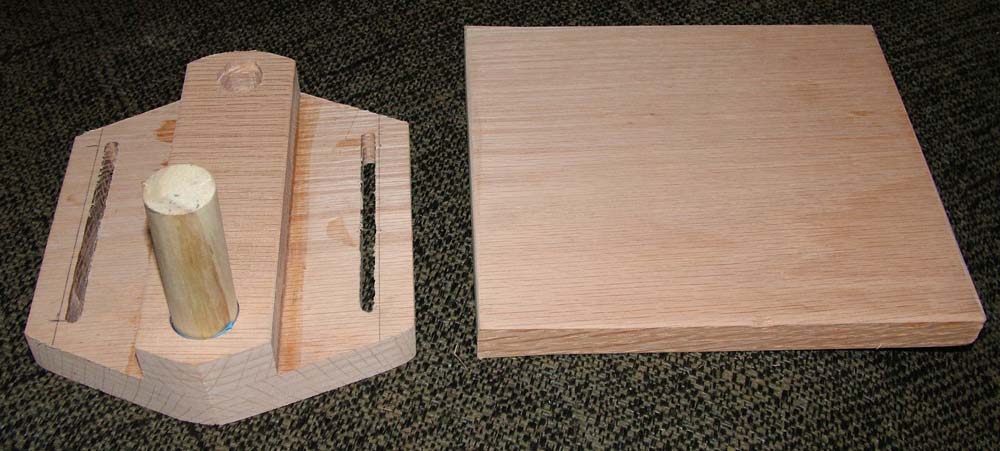
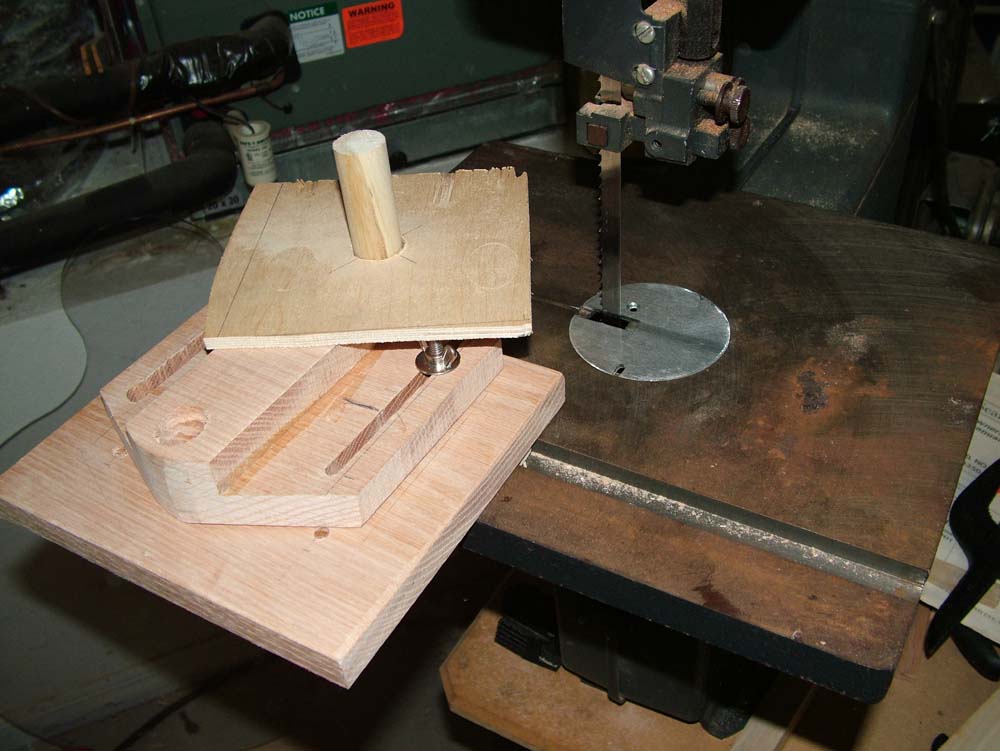
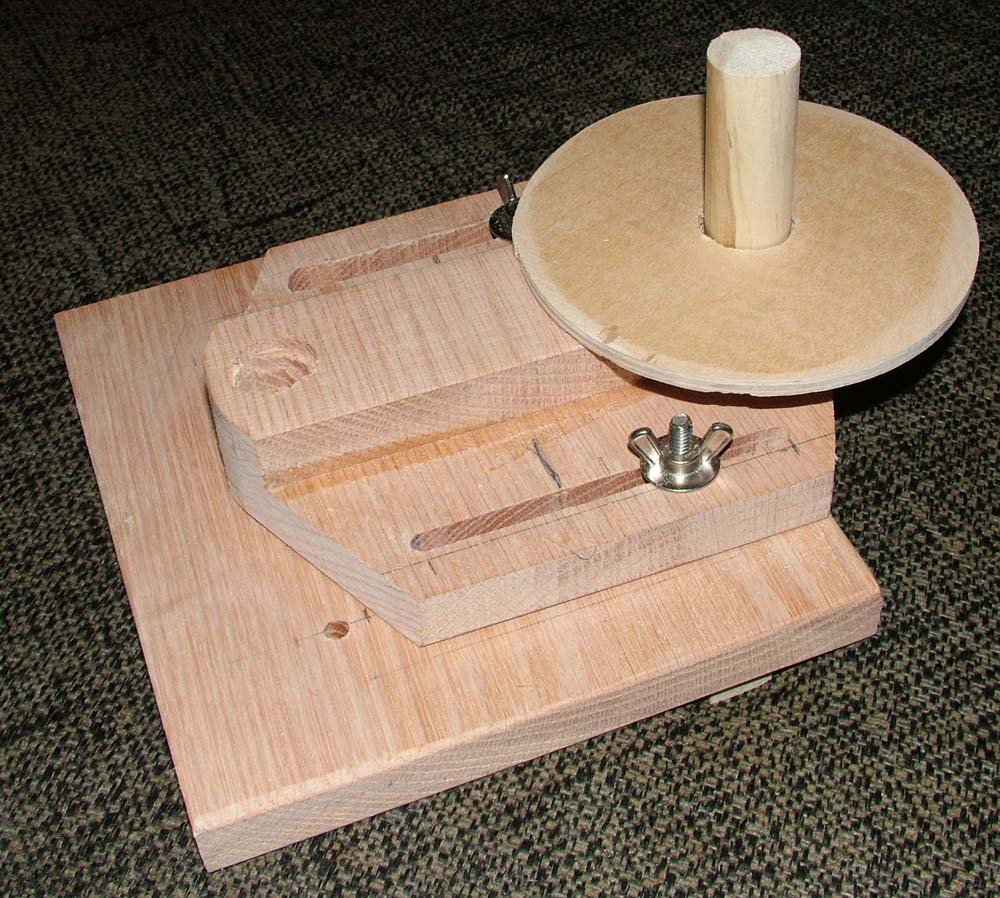
I made a circle cutting jig for my bandsaw. It will cut various sized holes by moving the slide in and out and using machine screws with wing nuts to lock it in place. I will need to make about 25 5" disks with a 1" center hole so I needed something to make my life easier. I will cut a square of 3/4" plywood approximately 5 1/4" square and drill a 1" center hole. Then I will place the square over the 1" plug while the jig is in place and then just spin the wood square to cut even disks. The jig can also ba used with a 3/4" plug. By using different mounting holes, various size disks can be cut. |
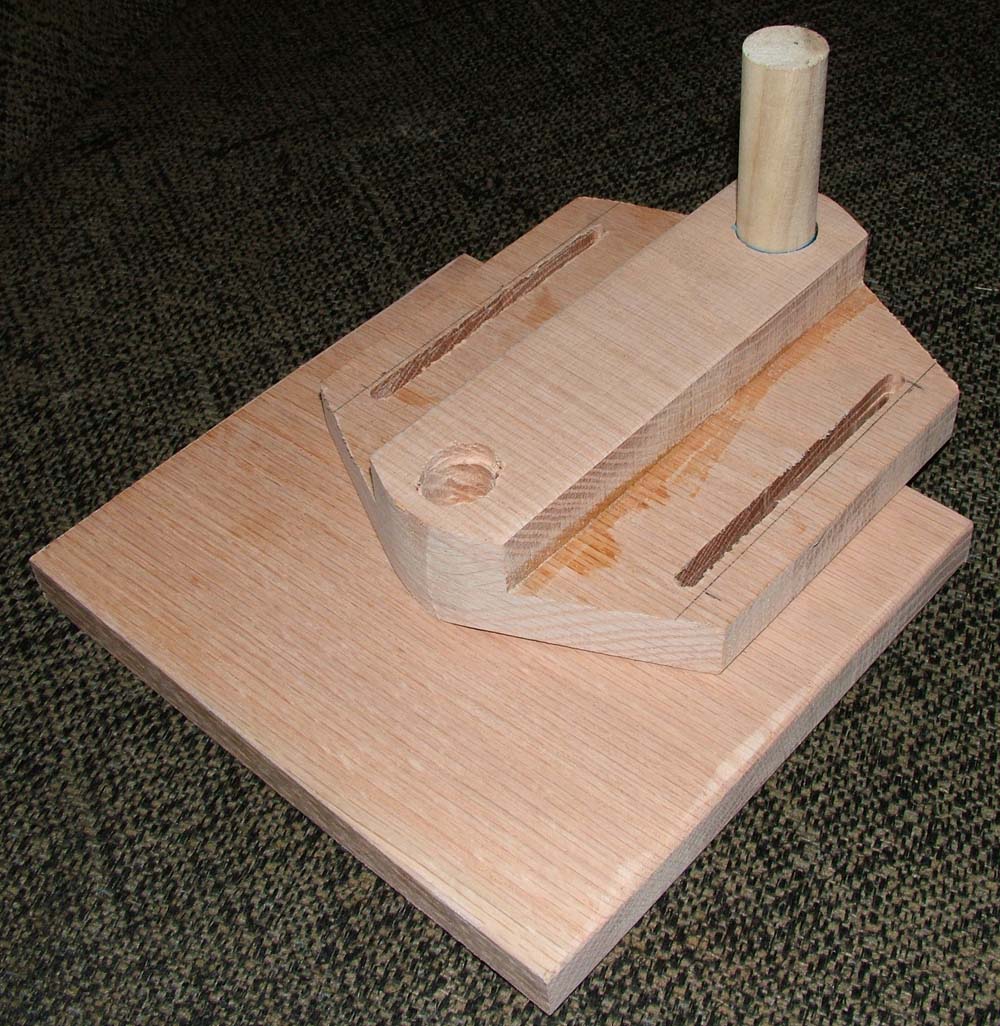
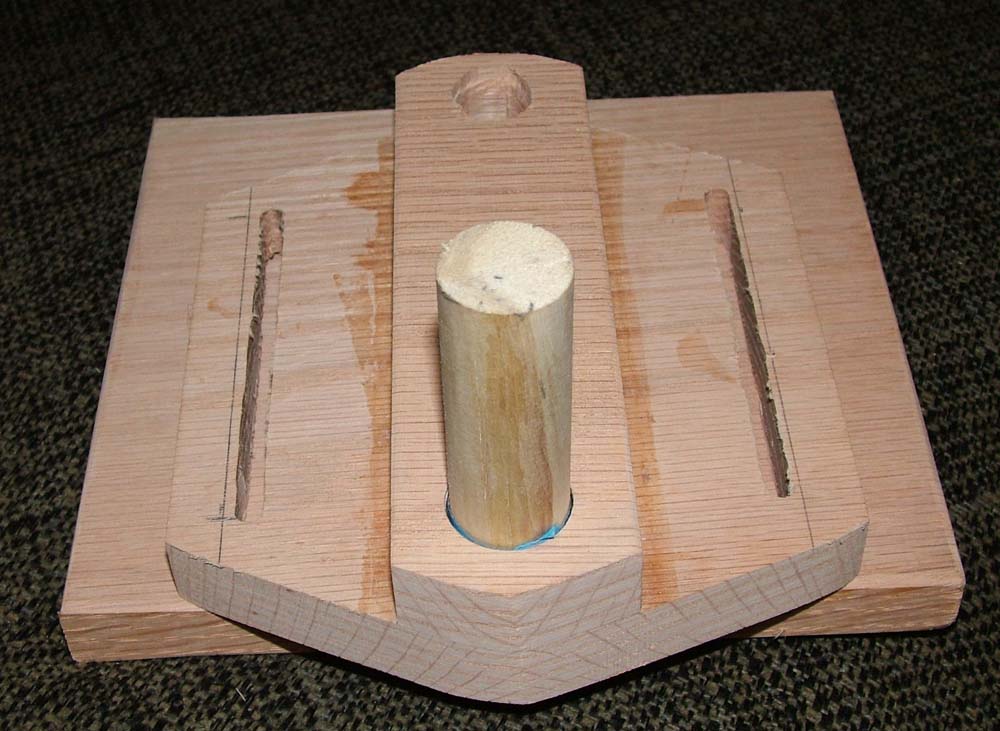
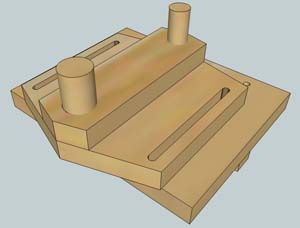
I am building a thickness sander and need to make a five inch drum comprised of about 25 5 inch disks made from 3/4" plywood. Once they are cut, they will be put on a shaft and "trued up" with a rough piece of sandpaper. The closer I can cut each disk, the less I will have to true them up. So, this is what i came up with to cut my disks. The images are from the Google Sketchup file I drew. The top portion slides on the base which is seated in the miter slot of my bandsaw. I will clamp the base to the bandsaw base and then adjust the radius of the disks I want to cut. I will cut 5" squares of 3/4" ply and drill a 1" hole in the center of each. Then i will use only the 1" plug in the jig and place the square on it. I will slide the jig into place, then clamp it and cut the circle. Each circle should be exactly the same size.
Here is a drawing of the cam clamps I am building. If you would like to have a .dxf file, CLICK HERE.
To get the Google Sketchup drawing, CLICK HERE.
|
The slide and the base. I still need to drill the holes in the base and install the miter slot guide rail. |
|
|
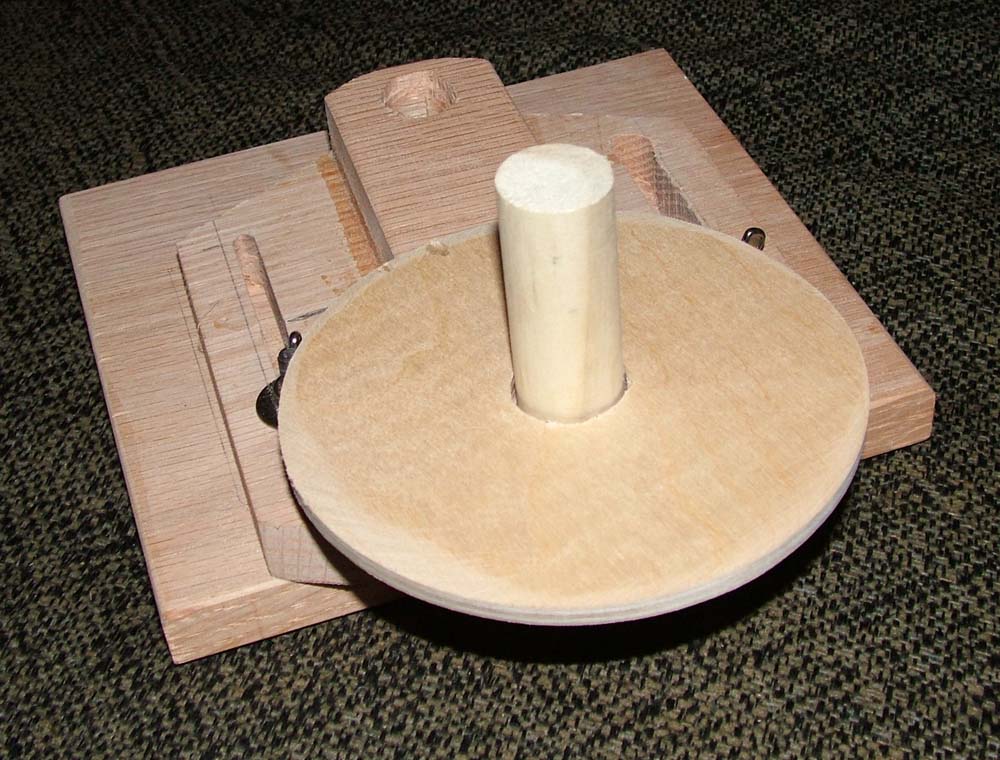
This is how the slider will sit on the base. There will be six holes in the base that will allow the slider to be adjustable so different size disks can be cut.
|
A front view of the jig. Wing nuts and 1/4x20 machine head screws will hold the slider onto the base. |
|
|
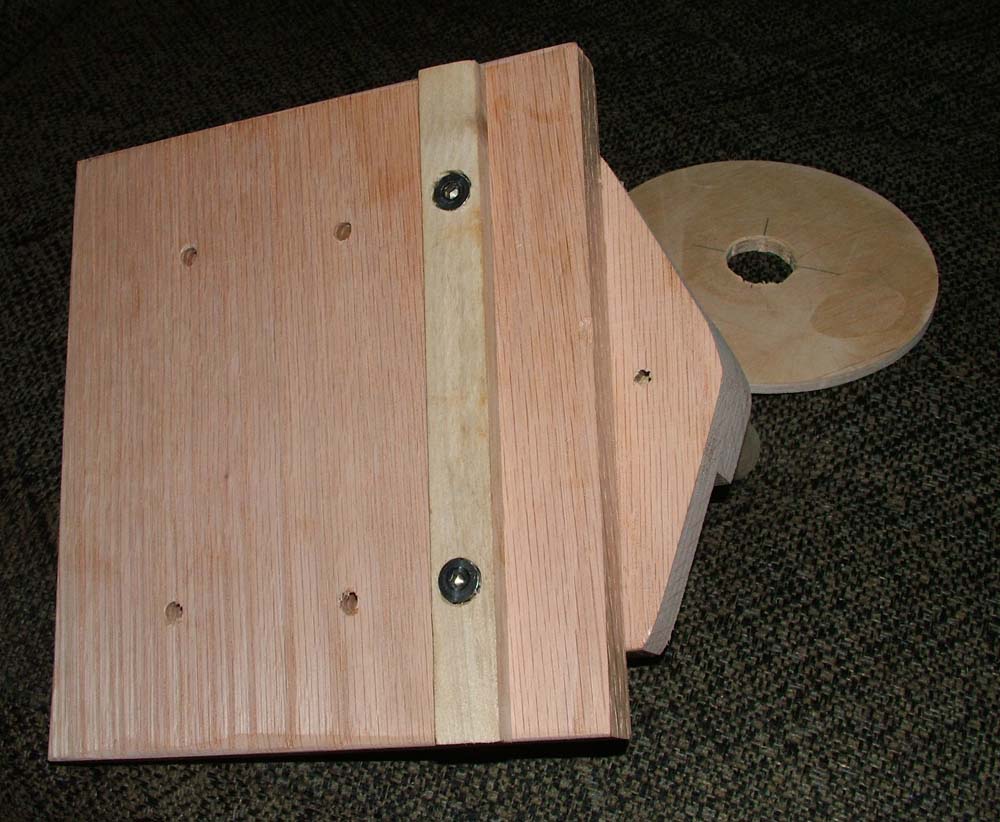
A view from the bottom showing the countersunk 1/4 x 20 screws. |
The circle cutting jig is set into the miter slot and slid into position with the saw running. As the cut begins, I rotate the wooden disk. |
|
|
After the disk is cut and the edges have been sanded. |
Another view of the finished disk. This was a piece of 1/4" scrap plywood. I used a 1/2" bandsaw blade but I will change that for a smaller blade to make it easier to cut the radius I need. |
Download AutoCad file
Download .dxf file
Google Sketchup file
See more info here on how I developed the circle jig. |